
When you turn on your MacBook and see a blinking question mark on the screen, it can feel scary. Suddenly, your laptop is not starting as usual. Many people panic and think their MacBook is broken forever. But a blinking question mark does not always mean disaster. With a calm approach, you can often fix the problem or understand what is wrong. This guide will explain what the blinking question mark means, why it happens, and how to solve it. Even if you are not a tech expert, you will find clear explanations and easy-to-follow steps.
What Does The Blinking Question Mark Mean?
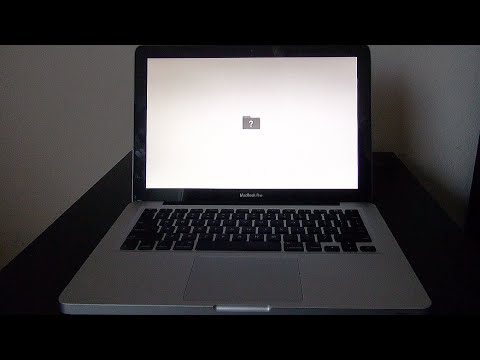
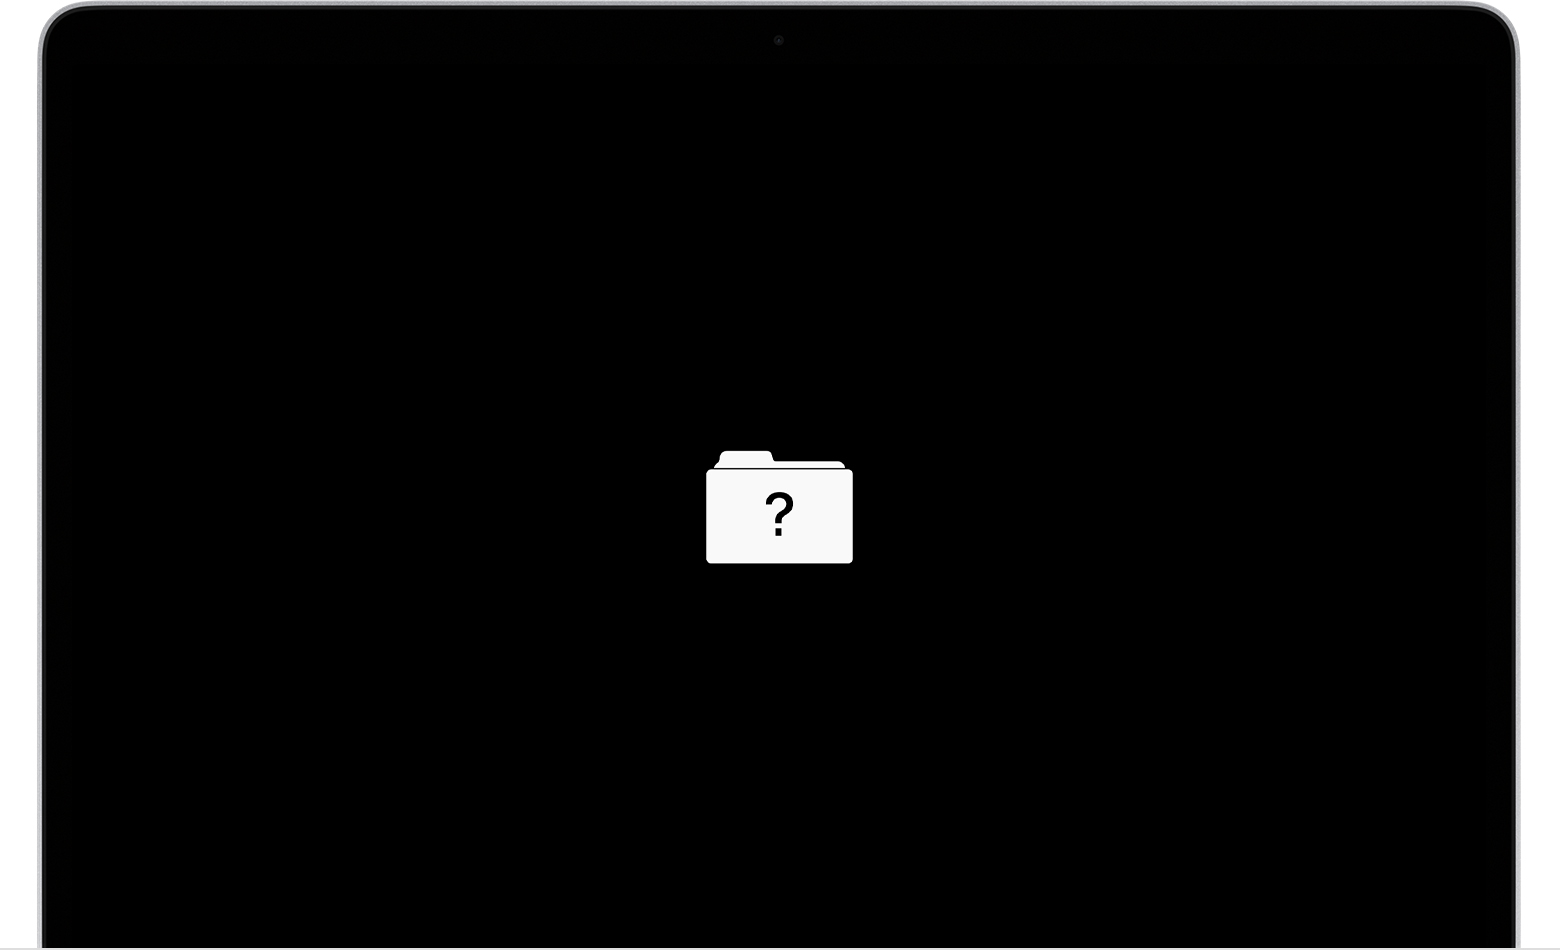
The blinking question mark icon on a MacBook appears when the computer cannot find a startup disk with a working macOS system. In simple words, your MacBook does not know where to find the files needed to start. Instead of loading your desktop, it shows the question mark to ask for help.
This usually happens for these reasons:
- The internal hard drive or SSD is damaged or missing.
- The macOS system is corrupted or deleted.
- The startup disk is not set correctly.
- There is a loose connection inside the laptop.
Sometimes, the issue is easy to fix, like resetting a setting. Other times, it is more serious, like a failed hard drive. Understanding the cause helps you choose the right solution.
Common Causes Of The Blinking Question Mark
Let’s look at the reasons behind the blinking question mark. You will often see one of these situations:
- Startup Disk Not Found: Your MacBook cannot locate the drive where macOS is installed.
- Corrupted macOS: The operating system files are damaged, so macOS cannot start.
- Disk Connection Issues: The internal disk may be loose or not connected well.
- Failed Hard Drive/SSD: The storage device has stopped working.
- Incorrect Startup Disk Setting: MacOS is looking for the wrong disk.
Some MacBooks show the question mark only for a few seconds and then start up. Others get stuck with the icon flashing, unable to load macOS. The second situation needs more attention.
Credit: www.youtube.com
How To Fix A Macbook Blinking Question Mark
If your MacBook shows a blinking question mark, do not panic. Try these steps to diagnose and fix the issue. Many users can solve the problem themselves, even with limited technical skills.
1. Restart Your Macbook
First, restart your MacBook. Sometimes, a simple reboot clears a temporary glitch. Hold the power button until the laptop turns off, then turn it back on. If the question mark remains, move to the next step.
2. Check Startup Disk Settings
Your MacBook may be looking for the wrong disk. To fix this:
- Hold the Option key when you turn on your MacBook.
- Wait for the disk selection screen.
- Choose your main disk (usually called “Macintosh HD”).
- Press Enter.
If your disk appears and macOS loads, update your startup disk setting:
- Go to System Settings > General > Startup Disk.
- Select your main disk and restart.
This step solves the issue for many users, especially after system updates.
3. Use Disk Utility
If your MacBook cannot find any disk, try Disk Utility from macOS Recovery:
- Turn off your MacBook.
- Hold Command + R and turn it on. This opens macOS Recovery.
- Select Disk Utility from the menu.
- Find your startup disk in the list.
If your disk appears, use Disk Utility to repair it:
- Click on the disk name.
- Choose First Aid.
- Follow the prompts.
Disk Utility checks for errors and tries to fix them. If the disk is OK, try restarting your MacBook.
4. Reinstall Macos
If Disk Utility finds your disk but cannot repair it, you may need to reinstall macOS:
- In macOS Recovery, select Reinstall macOS.
- Follow the steps to install the system.
Reinstalling macOS does not always erase your files, but it is smart to back up your data if possible.
5. Check For Hardware Problems
If Disk Utility does not see any disk, the issue may be hardware-related. The internal SSD or hard drive could be disconnected or broken. Older MacBooks are more likely to have mechanical hard drives that fail. Newer models use SSDs, which are more reliable but can still fail.
If you suspect hardware failure:
- Listen for strange sounds (clicking, whirring).
- Feel for unusual heat.
- Check if the disk is visible in Disk Utility.
Sometimes, opening the laptop and reconnecting the disk fixes the problem, but this should be done by an expert.
6. Restore From Backup
If you have a Time Machine backup, you can restore your system:
- In macOS Recovery, select Restore from Time Machine Backup.
- Choose your backup and follow the prompts.
This restores your MacBook to an earlier state and often fixes system corruption.
7. Contact Apple Support
If none of the above steps work, contact Apple Support or visit an Apple Store. They have tools to check your hardware and help with repairs. A failed disk or motherboard needs professional attention.
Data And Statistics: Macbook Disk Failure Rates
Understanding how common disk failures are can help you estimate the chances of hardware problems. Here’s a comparison of failure rates for different MacBook storage types:
| Storage Type | Average Failure Rate (per year) | Typical Lifespan |
|---|---|---|
| Hard Disk Drive (HDD) | 1.5% – 6% | 3-5 years |
| Solid State Drive (SSD) | 0.5% – 2% | 5-10 years |
SSDs are more reliable than HDDs, but both can fail without warning. Backing up your data regularly is essential to avoid losing important files.
Macos Recovery Options Compared
If your MacBook cannot start normally, you have several recovery options. Here’s a quick comparison:
| Recovery Option | Purpose | Best For |
|---|---|---|
| Disk Utility | Repair disk errors | Minor disk issues |
| Reinstall macOS | Restore operating system | Corrupted system files |
| Time Machine Restore | Recover data and system | Data loss or system rollback |
Using Disk Utility is the safest first step. If you cannot fix the problem, reinstall macOS or restore from backup.
Signs Of Hardware Failure Vs. Software Issues
It’s important to know if your blinking question mark is caused by hardware or software. Here’s how to tell:
| Sign | Hardware Failure | Software Issue |
|---|---|---|
| No disk detected in Disk Utility | Yes | No |
| Disk detected, but corrupted | No | Yes |
| Strange noises | Yes | No |
| Question mark appears after update | No | Yes |
If you have hardware failure signs, seek professional help. Software issues can often be fixed at home.
Credit: www.reddit.com
Two Non-obvious Insights
Many beginners miss these points:
- External Boot Drives: You can start your MacBook from an external USB drive with macOS. This is a great way to test if your internal disk is broken. If your MacBook starts from the external disk, the internal disk is likely the problem.
- PRAM/NVRAM Reset: Sometimes, resetting the PRAM/NVRAM can fix startup disk confusion. To do this, hold Command + Option + P + R at startup until you hear the startup sound twice. This resets settings related to startup disk and display.
Practical Tips To Prevent The Blinking Question Mark
Avoiding the blinking question mark is easier than fixing it. Follow these tips:
- Back up your data regularly with Time Machine or other software.
- Avoid sudden shutdowns or force-quitting during system updates.
- Check your disk health using Disk Utility every few months.
- Keep your MacBook’s software updated.
- If your MacBook is old, consider replacing the hard drive before it fails.
One common mistake is ignoring slow startup or strange disk noises. These are signs that your disk may fail soon.
Credit: www.salvagedata.com
When To Replace Your Macbook Disk
If your MacBook’s disk is old, slow, or noisy, replacement can prevent bigger problems. Most SSDs last 5–10 years, while HDDs last 3–5 years. If your MacBook is older than this, plan for a disk upgrade.
Replacing the disk is not expensive compared to losing all your data. Many repair shops offer SSD upgrades that make old MacBooks faster and more reliable.
How To Recover Data After Disk Failure
If your disk fails and you cannot start macOS, you may still recover your files. Try these options:
- Use Target Disk Mode: Connect your MacBook to another Mac with a cable. Hold T at startup. Your MacBook’s disk appears as an external drive.
- Remove the disk and use a USB adapter to connect it to another computer.
- Professional recovery services can recover data from damaged disks, but this can be costly.
Always try simple methods first. If your data is very important, professional recovery is the safest option.
Frequently Asked Questions
What Should I Do First If I See A Blinking Question Mark?
Turn off your MacBook and restart it. If the question mark remains, use macOS Recovery and Disk Utility to check your disk. This solves the issue for many users.
Can I Fix The Blinking Question Mark Without Losing My Data?
Yes, many fixes do not erase your files. Repairing the disk or resetting the startup disk setting keeps your data safe. Only reinstalling macOS or restoring from backup risks data loss, so back up first.
Is The Blinking Question Mark A Sign Of A Dead Macbook?
No, it often means the system cannot find your startup disk. It can be a simple software issue or a hardware problem. Most MacBooks can be fixed unless the disk or logic board is fully dead.
How Can I Tell If My Disk Is Broken Or Just Disconnected?
If Disk Utility cannot see your disk at all, it may be disconnected or broken. If it appears but has errors, it is likely a software issue. Strange noises or heat are signs of hardware failure.
Where Can I Get Official Help For A Blinking Question Mark?
Visit an Apple Store or use Apple Support. They offer diagnostics and repairs for MacBook startup problems.
Conclusion
Seeing the blinking question mark is stressful, but with the right steps, you can often fix your MacBook or understand what is wrong. Stay calm, follow the instructions, and ask for help if needed. Taking care of your disk and backing up your data will keep your MacBook running smoothly for years to come.