
Liftmaster Blinking Codes: How to Decode, Troubleshoot, and Fix Garage Door Issues
When your Liftmaster garage door opener suddenly stops working, a small, blinking light can feel like a big mystery. Many homeowners see these blinking codes but have no idea what they mean or how to fix the problem. In reality, these codes are your opener’s way of telling you what’s wrong. Learning how to read and respond to them can save you time, stress, and even money on service calls.
This guide takes the confusion out of Liftmaster blinking codes. You’ll learn what each pattern means, how to diagnose the cause, and step-by-step solutions for common problems. We’ll cover the most frequent codes, give you practical examples, and share real-world tips that most instruction manuals don’t mention.
Whether you’re a DIY beginner or just want to feel more confident about your garage door system, this article will help you turn those blinking lights into clear answers.
Understanding Liftmaster Blinking Codes
Liftmaster openers have built-in diagnostic lights, usually on the motor unit or the wall control panel. These lights blink in specific patterns to show errors. For most models, the pattern is a sequence: the light blinks a certain number of times, pauses, then repeats. Each sequence points to a particular issue—like problems with sensors, wiring, or the motor.
Recognizing the importance of these codes is the first step. Instead of guessing, you can use the blinks as clues. This targeted approach saves you from unnecessary repairs or replacing parts that work fine. For example, a blinking light might reveal a simple misaligned sensor, not a broken motor.
Pro tip: Always count the number of blinks before and after a pause. Some codes combine two numbers (like 1 blink, pause, 3 blinks), while others use a single repeated pattern.
Common Liftmaster Blinking Codes And What They Mean
Different Liftmaster models have slightly different codes, but most share the same core patterns. Below is a table showing the most common blinking code meanings for recent models.
| Blink Pattern | Common Cause | Typical Solution |
|---|---|---|
| 1 blink | Safety sensor wire or connection issue | Check and reconnect sensor wires |
| 2 blinks | Sensor wire short or reversed wires | Inspect for crossed or damaged wires |
| 3 blinks | Door control or wall button problem | Test and replace control panel if needed |
| 4 blinks | Safety sensors misaligned or blocked | Realign and clean sensors |
| 5 blinks | Motor overheated or RPM sensor issue | Let cool or replace RPM sensor |
| 6 blinks | Motor circuit error | Check motor wiring, call professional if needed |
| 7 blinks | Logic board or circuit board error | Reset or replace logic board |
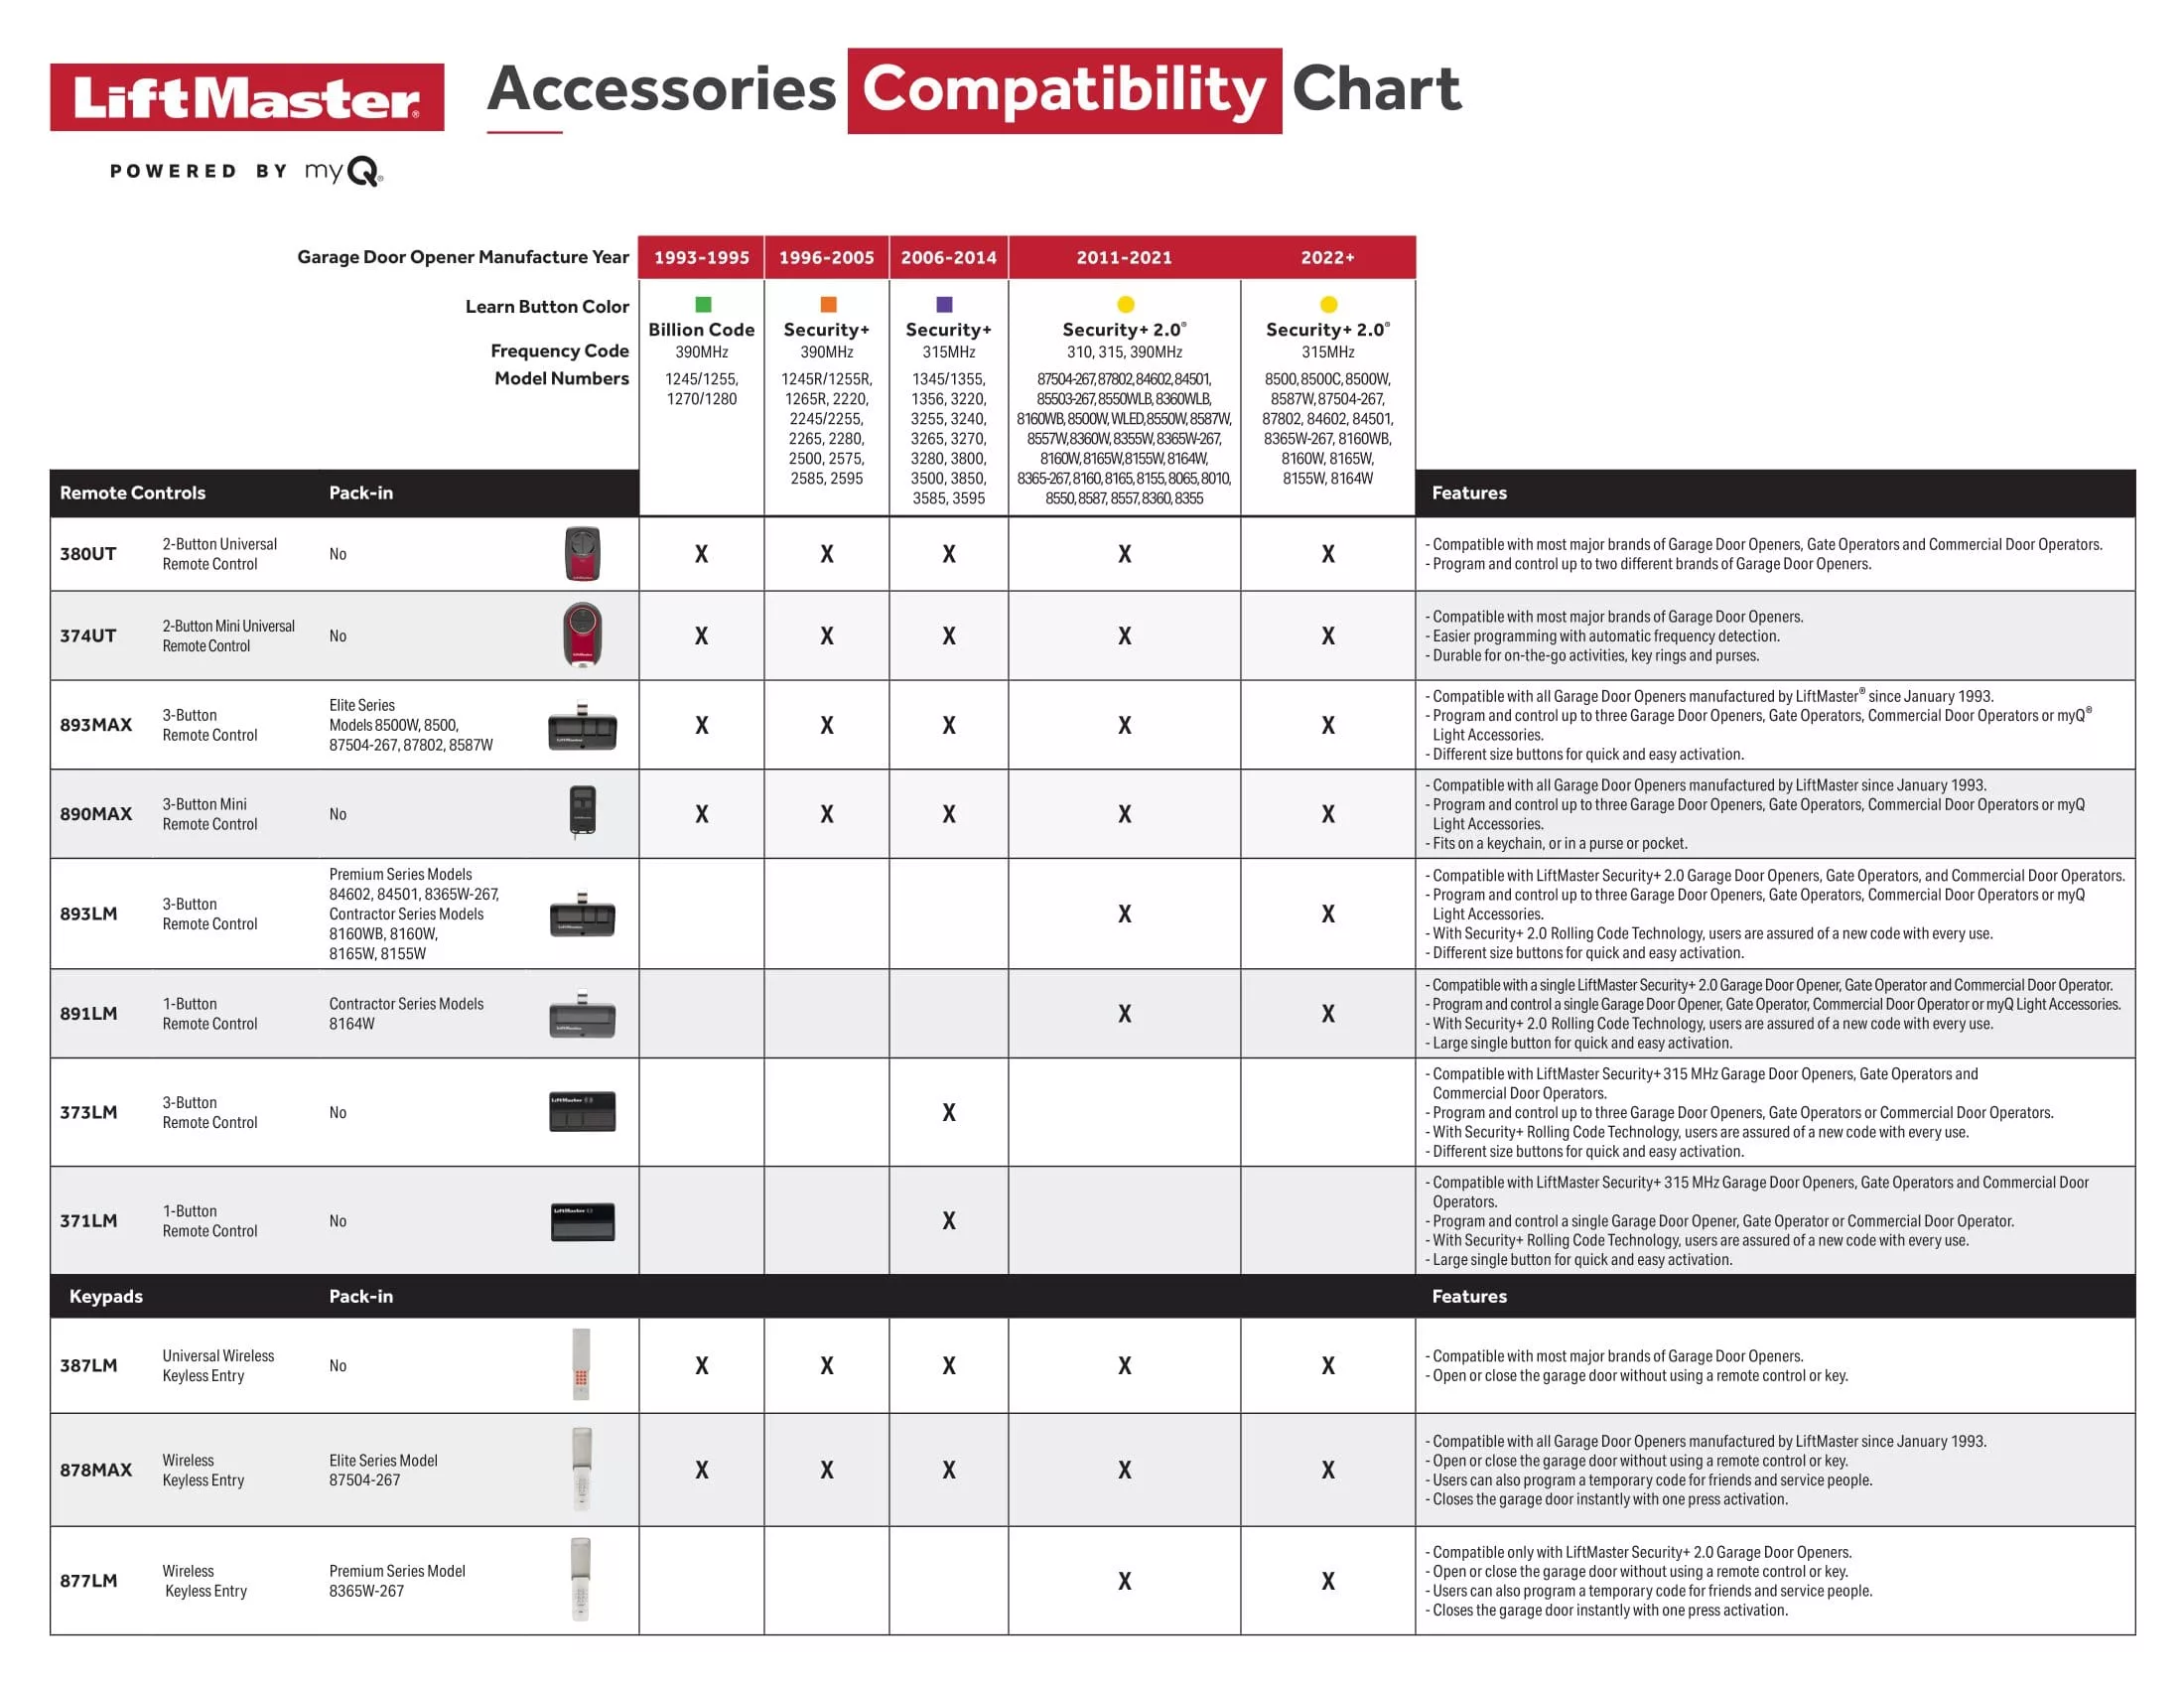
Some newer Liftmaster models use a “learn” button with a built-in LED that blinks in similar patterns. Always check your specific model’s manual if you see a code not listed here.
Why Codes Matter
Ignoring blinking codes can cause more damage or lead to bigger repair bills. For example, a blinking code about the safety sensors often means the garage door won’t close, which is a safety feature to prevent accidents. Acting on these codes quickly can keep your system safe and reliable.
Credit: www.garagedoorspecialists.com
How To Read Blinking Patterns On Your Opener
Before you can fix anything, you must read the blinking code correctly. Here’s a step-by-step process:
- Locate the blinking light: This is usually on the opener’s main unit (ceiling) or the wall panel.
- Count the blinks: Watch carefully. Count how many times the light flashes before it pauses and starts again.
- Write down the sequence: Some codes combine two numbers (e.g., 1 blink, pause, 3 blinks = code 13). Others repeat the same number.
- Consult the manual: Compare your sequence with your model’s code chart. If you don’t have the manual, many are online at the Liftmaster website.
Insight: Many people miscount blinks, especially if the pauses are short. Watch at least three cycles to be sure.
Troubleshooting Liftmaster Blinking Codes
Each code points to a specific issue. Let’s look at the main causes and fixes for the most common blinking codes.
1. One Blink: Sensor Wiring Or Connection Issue
When you see a single blink repeating, it often means the opener detects a problem with the safety sensor wires.
What to check:
- Loose or disconnected wires at the sensor or opener terminals
- Broken wires, often chewed by rodents or damaged by tools
- Wires pinched or cut by garage door movement
Fix:
- Turn off the opener’s power for safety.
- Inspect all wire connections; reconnect any loose wires.
- If you see damage, strip back the insulation and reconnect or replace the wire.
- Restore power and check if the code clears.
Non-obvious tip: Sometimes, a wire only breaks inside the insulation. Gently bend the wire—if the light blinks when you move it, the wire likely has an internal break.
2. Two Blinks: Shorted Or Reversed Sensor Wires
Two blinks usually mean the safety sensor wires are touching each other (shorted) or connected to the wrong terminals.
What to check:
- At the opener, are the wires twisted together or frayed?
- Are the white and black wires connected to the correct color-coded screws?
Fix:
- Separate and tape any wires touching each other.
- Double-check the wiring against your manual.
- Reconnect correctly if wires are swapped.
Beginner mistake: Rushing this step. Even a small strand of wire touching the wrong screw can trigger the code.
3. Three Blinks: Door Control Or Wall Button Problem
Three blinks point to a problem with the wall-mounted control panel or the wiring leading to it.
What to check:
- Is the control panel’s wire pinched or broken?
- Does the button feel sticky or jammed?
- Try the remote—if it works but the wall button does not, the panel is likely faulty.
Fix:
- Remove the panel and clean any dirt or corrosion.
- Replace the panel if cleaning doesn’t help.
- Try reconnecting the wire at both ends.
Example: If your garage door opens with the remote but not the wall button, three blinks confirm a control panel problem.
4. Four Blinks: Sensor Alignment Or Blockage
Four blinks mean the safety sensors are out of alignment or something is blocking them.
What to check:
- Are both sensors facing each other with clear “eyes”?
- Is there dust, spiderwebs, or debris on the lenses?
- Is anything (broom, toy) blocking the path?
Fix:
- Gently clean both lenses.
- Adjust the sensors so they point directly at each other (green light should be steady).
- Remove any objects in the path.
Non-obvious insight: Direct sunlight on the sensor can also cause false codes. Try shading the sensor if the code appears only during bright daylight.
5. Five Blinks: Motor Overheating Or Rpm Sensor Fault
This code suggests either the motor is overheated or the RPM sensor is faulty.
What to check:
- Has the opener been used repeatedly in a short time?
- Is the door unusually heavy or stuck?
Fix:
- Let the opener cool for 15–30 minutes.
- Check for door obstructions or broken springs.
- If the code returns, the RPM sensor (a small part inside the motor) may need replacement.
Tip: For heavy doors, don’t force them open or closed if you see this code—fix the cause first.
6. Six Blinks: Motor Circuit Error
Six blinks are less common and usually point to a motor circuit board issue.
What to check:
- Burnt smell or visible damage on the motor board
- Loose wiring inside the opener
Fix:
- Check for loose wires and reconnect if needed.
- If the board appears damaged, replacement is the safest solution.
- Call a professional if you’re not comfortable opening the unit.
Note: Circuit board issues can sometimes be intermittent, so codes may appear only after repeated use.
7. Seven Blinks: Logic Or Circuit Board Failure
Seven blinks signal a more serious problem with the logic board (the opener’s “brain”).
What to check:
- Power surges or lightning strikes can damage the logic board.
- Do other features (lights, remotes) also fail?
Fix:
- Try unplugging the opener for a minute to reset.
- If the code persists, the logic board likely needs replacement.
- If your opener is under warranty, contact Liftmaster.
Extra note: Replacing a logic board is often cheaper than buying a new opener.

Credit: www.reddit.com
Special Codes For Newer Liftmaster Models
Some advanced Liftmaster models (especially with Security+ 2.0 technology) have extra codes, often shown as two numbers (like 1-3, 2-2, etc.). Here’s a quick reference for a few:
| Blink Pattern | Meaning | Action |
|---|---|---|
| 1-1 | Sensor wire open | Reconnect wires |
| 1-2 | Sensor wire short | Separate wires |
| 1-3 | Sensor misaligned | Align sensors |
| 1-5 | RPM sensor error | Replace sensor |
| 2-1 | Logic board error | Replace board |
| 2-2 | Motor error | Check motor |
If your model uses two-number codes, always reference the manual for the most accurate meaning.
How To Fix Most Liftmaster Blinking Code Problems
While some issues need a professional, many blinking code problems are easy to fix at home. Here are general steps:
- Power off the opener before working to avoid electrical shock.
- Check all visible wiring for damage, loose connections, or corrosion.
- Clean and align sensors using a soft cloth; make sure both lights are steady.
- Test the wall control panel by bypassing with a jumper wire (if confident and safe).
- Reset the opener by unplugging for one minute, then plugging back in.
- Replace simple parts like sensors or wall panels if cleaning and realigning don’t work.
Caution: If you smell burning, see melted parts, or the opener makes strange noises, call a professional. Attempting repairs on the motor or logic board without experience can be dangerous.
Real-world Examples
Let’s look at a couple of common scenarios.
Example 1: Your garage door won’t close, and the opener’s light blinks four times. You check and find a toy truck in front of the sensor. After removing it, the door works normally.
Example 2: After a thunderstorm, your opener blinks seven times, and nothing works. You reset the power, but the code returns. The logic board is likely damaged and needs replacement.
Example 3: The opener blinks two times, and you find the sensor wires are reversed at the opener terminals. After swapping them, the blinking stops.
Insight: Many beginners replace expensive parts when the real issue is a simple sensor misalignment or loose wire.
When To Call A Professional
Not all problems can be fixed at home. Call a qualified garage door technician if:
- The blinking code points to a logic board or motor error and you’re not comfortable with electrical repairs.
- There are repeated codes after basic troubleshooting.
- The opener makes grinding noises, smells burnt, or the door is stuck halfway.
A good technician can often repair or replace parts quickly, preventing bigger issues.
Credit: aaagds.com
How To Prevent Blinking Codes
A few simple habits can help you avoid most blinking codes:
- Keep sensors clean and clear of dust, spiderwebs, and obstacles.
- Check wires twice a year for signs of wear or animal damage.
- Avoid overusing the opener in quick succession (to prevent overheating).
- Use surge protectors to guard against power surges, especially in storm-prone areas.
- Test the door balance—a well-balanced door reduces motor strain.
Prevention saves time and avoids emergency repairs.
Comparing Liftmaster Codes To Other Brands
Liftmaster is part of the Chamberlain Group, which also makes Chamberlain and Craftsman openers. Their blinking codes are similar, but there are differences.
| Brand | Main Blinking Codes | Unique Features |
|---|---|---|
| Liftmaster | 1–7 blinks, double-number codes | Wide range, online manuals |
| Chamberlain | Similar to Liftmaster | Often shares parts/codes |
| Craftsman | Many identical codes | Some models use different panel lights |
| Genie | Uses red/green LEDs, different patterns | Codes shown on wall console |
Tip: If you replace your opener, knowing how to read codes on one brand helps with others, but always check the specific manual.
Where To Find More Help
If you’re stuck, Liftmaster’s website has downloadable manuals for nearly all models. You can also find video guides for basic troubleshooting on YouTube. For advanced issues, professional garage door repair services have the tools and experience to fix circuit boards and motors safely.
For more on garage door opener diagnostics, see the official Liftmaster Support page.
Frequently Asked Questions
What Does A Blinking Light On My Liftmaster Opener Mean?
A blinking light is the opener’s way of telling you there’s a problem. Each pattern of blinks (one, two, three, etc.) points to a different issue—such as sensor misalignment, wiring problems, or motor errors. Counting the blinks helps you diagnose and fix the problem.
Can I Reset A Blinking Code Without Fixing The Problem?
Resetting the opener (by unplugging it) may clear the code temporarily, but if the cause isn’t fixed, the code will return. Address the root problem—such as cleaning sensors or reconnecting wires—for a permanent solution.
Why Does My Garage Door Only Open Partway When The Opener Blinks?
Partial opening often means the safety sensors are misaligned or blocked, which triggers a blinking code. The opener limits movement for safety. Check for obstructions or dirt on the sensors and realign them.
Are Blinking Codes The Same For All Liftmaster Models?
Most Liftmaster models use similar codes, but newer models may have double-number patterns or extra diagnostics. Always check your specific model’s manual or the Liftmaster website for the correct code meanings.
What If The Blinking Code Points To A Logic Board Or Motor Problem?
If your opener shows codes for the logic board or motor, and basic fixes don’t help, it’s best to call a professional. These repairs involve electrical parts and require special tools and safety knowledge.
Solving Liftmaster blinking codes doesn’t have to be confusing or expensive. With a little patience and the right steps, you can often get your garage door working again in less than an hour. And the next time a small light blinks at you, you’ll know it’s not a mystery—it’s simply telling you what needs attention.