
A blinking green light on your Nest Thermostat can be both confusing and worrying, especially if you are new to smart home technology. Many homeowners see this small, pulsing light and wonder if their thermostat is charging, updating, or facing a problem. The truth is, that green light can mean a few different things, and knowing how to respond can make a big difference in your comfort and your thermostat’s performance. In this article, you’ll discover what causes the blinking green light, how charging works on a Nest Thermostat, what steps to take if the light won’t go away, and how to keep your device running smoothly. Whether you just installed your Nest or have been using it for years, you’ll find practical answers and expert tips that go beyond the basics.
Understanding The Nest Thermostat Blinking Green Light
When you see a blinking green light on your Nest Thermostat, it’s natural to wonder what’s happening behind the scenes. This indicator is one of several color-coded signals Nest uses to communicate with you. Each color and pattern means something specific, and green is one of the most common.
What The Blinking Green Light Means
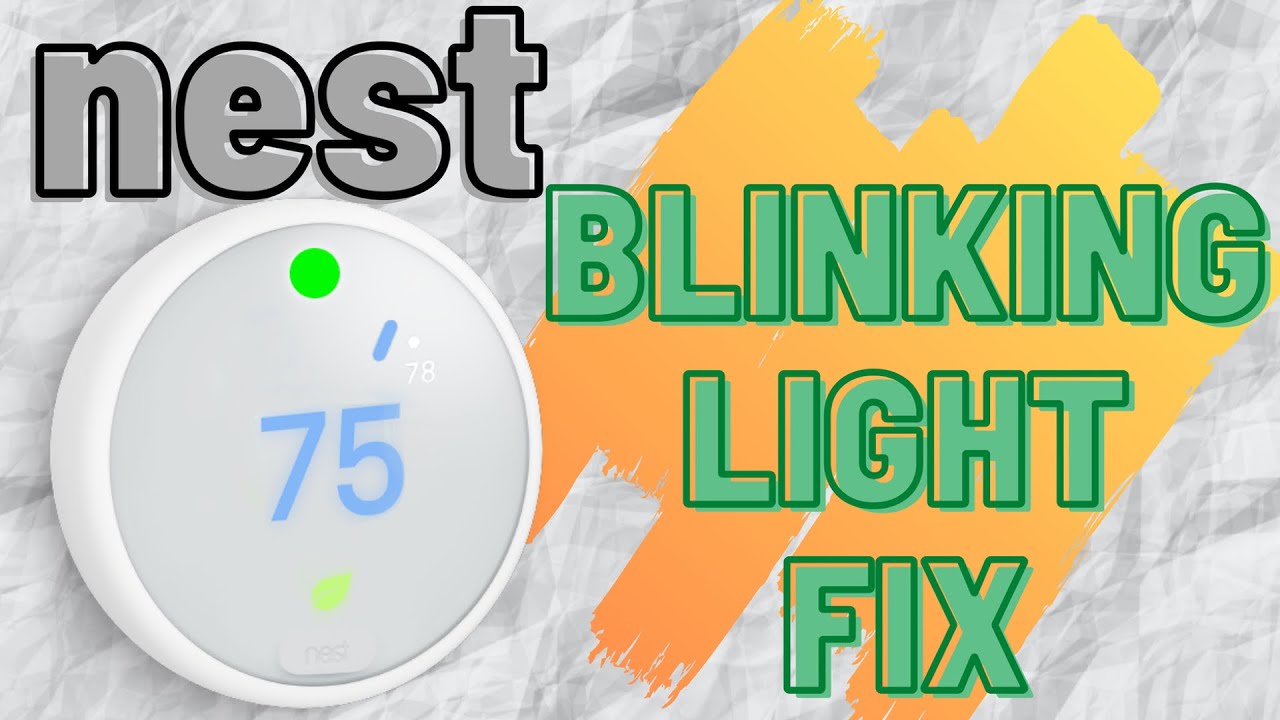
The blinking green light almost always means your Nest is performing a system update or restarting. Unlike a solid green or a different colored light, a blinking green is not a direct signal that your thermostat is charging.
- Software Update: Nest thermostats regularly receive over-the-air updates to improve features, fix bugs, or boost security. During this process, the green light blinks to let you know the device is busy.
- Restart/Reboot: If you manually restart the thermostat or it restarts due to a technical issue, you’ll also see the green light blink.
- Short Power Interruption: In some cases, a quick power loss or a wiring issue can cause the thermostat to reboot, triggering the green light.
Common Misconceptions
Many people think the blinking green light means the Nest is charging its battery. In reality, the light is not a battery charging indicator. The Nest charges quietly in the background through your HVAC system’s wires. The green light is only about software or system activity.
Some users also worry that a blinking green means something is wrong. Most of the time, it’s a sign that the thermostat is working as expected. However, if the light stays on for a long time or your device becomes unresponsive, that could signal a problem.
Duration Of The Blinking Green Light
- Normal Update: Lasts from a few seconds up to 5 minutes.
- Large Update/Restart: May take up to 10 minutes.
- Longer than 10 minutes: Could mean a problem with the update, Wi-Fi, or power.
If the green light blinks for more than 15 minutes, you should take action (see troubleshooting steps below).
How Nest Thermostat Charging Works
Understanding how your Nest Thermostat charges is key to making sense of the blinking green light and other indicators. Unlike your phone, the Nest doesn’t have a charging port or use a wall adapter.
Power Sources For Nest Thermostat
Nest thermostats draw power from your home’s HVAC wiring. The two main ways are:
- Through the Heating and Cooling Wires (Common Wire Not Present)
- Most basic HVAC systems don’t use a C (common) wire.
- The Nest “sips” small amounts of power when the system is running.
- If your heating/cooling isn’t running often, the Nest’s battery may drain, leading to power issues.
- With a Dedicated Common (C) Wire
- The C wire provides steady, dedicated power.
- This is the most reliable charging method, recommended by experts.
- If your system doesn’t have a C wire, you can often add one or use a power adapter.
Here’s a quick comparison of how Nest charges in different setups:
| Wiring Setup | Charging Reliability | Common Problems |
|---|---|---|
| No C Wire | Moderate | Battery drains if HVAC rarely runs |
| With C Wire | High | Rare charging issues |
| Power Adapter | High | Requires extra installation |
Nest Thermostat’s Internal Battery
Nest thermostats have a rechargeable lithium-ion battery. This battery is not designed to be replaced by users. It stores enough energy to keep the device running for a short time during power outages or system downtimes.
- Normal operation: The battery is always “topped up” by the HVAC power.
- Power loss: The battery can last 1-2 hours, sometimes longer, but features like Wi-Fi may turn off to save power.
- Low battery: If you see messages like “Low battery” or “Please connect to power,” your Nest isn’t charging properly.
How To Check Nest’s Battery Status
To see if your Nest is charging correctly, go to:
- Settings > Technical Info > Power
You’ll see information like “Battery” and “Voc.” The battery voltage should be above 3.7V for reliable operation.
What To Do When The Green Light Blinks For Too Long
Most of the time, the blinking green light is harmless and goes away on its own. But if it stays on for over 10-15 minutes or the thermostat freezes, try these steps.
1. Give It Time
Wait at least 10 minutes. Sometimes a large update or slow internet connection can cause a longer wait.
2. Check Your Wi-fi Connection
A lost or weak Wi-Fi signal can cause update problems.
- Check your router and internet connection.
- Move your router closer to the thermostat if possible.
- Restart your router if needed.
3. Restart The Nest Thermostat
A simple restart can fix most issues.
- Press and hold the thermostat ring for about 10 seconds until the screen turns off.
- Release, then press again to turn it back on.
- The Nest logo will appear, and the device should restart normally.
4. Remove And Reattach The Thermostat
If restarting doesn’t help, try removing the Nest from its base:
- Gently pull the thermostat off the wall.
- Wait 60 seconds.
- Snap it back into place.
This resets the connection pins and can solve minor hardware glitches.
5. Check For Power Or Wiring Issues
If the Nest won’t start or the green light persists:
- Inspect the wiring behind the thermostat.
- Make sure all wires are fully inserted and the connectors are secure.
- If you have a multimeter, check for voltage at the HVAC wires (especially the C wire).
6. Charge The Thermostat Manually
If your battery is very low, you can manually charge the Nest using a USB cable:
- Remove the thermostat from the wall.
- Plug a micro-USB cable into the port on the back.
- Connect to a wall charger (not a computer port).
- Let it charge for 1-2 hours, then reattach.
This is a useful trick if your system’s wiring doesn’t deliver enough power.
7. Factory Reset (last Resort)
If nothing else works, you can do a factory reset:
- Go to Settings > Reset > All Settings.
- Note: This will erase all schedules and Wi-Fi settings.
Only do this if other steps fail, as you’ll need to set up the device again.
Why Does My Nest Thermostat Need Charging?
While the Nest is designed to charge itself quietly, sometimes it needs extra power. This is usually due to:
- Insufficient HVAC run time: In mild weather, your heating/cooling may not run enough to keep the battery charged.
- No C wire: The thermostat relies on “power stealing,” which is less reliable.
- Old HVAC system: Older systems may not deliver steady voltage.
- Battery aging: Over time, rechargeable batteries lose capacity.
Here’s a table showing how different HVAC usage patterns affect Nest charging:
| HVAC Usage | Charging Frequency | Battery Risk |
|---|---|---|
| Daily (Heating/Cooling ON) | Constant | Low |
| Occasional (Few times/week) | Intermittent | Medium |
| Rare (Only in extreme weather) | Sporadic | High |

Credit: www.reddit.com
Advanced Troubleshooting: When Charging Issues Persist
If your Nest Thermostat keeps having charging problems, or you see the green light often with “Low battery” errors, you may need to take deeper steps.
Add A C Wire
The most reliable fix is to add a dedicated C wire to your system. This provides steady power and avoids most charging issues.
- If you have extra wires behind your old thermostat, one may be unused and can become the C wire.
- If not, many HVAC professionals can run a new wire for you.
- Alternatively, use a Nest Power Connector (power adapter) if running new wires isn’t possible.
Upgrade Your Hvac System
If your system is very old or doesn’t support modern thermostats well, an upgrade may help. Newer systems deliver more stable power, which is good for smart devices.
Replace The Thermostat Battery
Nest batteries are not designed for user replacement. If your device is out of warranty and the battery fails, you may need a professional repair or replacement thermostat.
Contact Google Support
If you’ve tried everything and your Nest still won’t charge or gets stuck on the green light, reach out to Google Nest Support. They can help with advanced diagnostics or warranty replacement if needed.
How To Prevent Nest Thermostat Charging Problems
Preventing charging problems is easier than fixing them. Here are some practical tips to keep your Nest running smoothly:
- Check HVAC Usage: Run your heating or cooling system for at least 15-30 minutes every few days, especially in mild weather.
- Install a C Wire: If you notice regular charging issues, add a dedicated C wire.
- Monitor Battery Voltage: Check the technical info in your Nest settings every few months.
- Keep Wi-Fi Strong: A solid Wi-Fi connection helps updates run smoothly, avoiding long green light periods.
- Regular Cleaning: Dust and debris around the thermostat can sometimes affect wiring connections. Gently clean the area every few months.
- Update Firmware: Always allow Nest to update when prompted. Updates fix bugs that might cause false charging or indicator issues.
- Avoid Extreme Temperatures: Nest thermostats work best between 32°F and 104°F (0°C to 40°C). Avoid placing them in direct sun or near heaters.

Credit: www.youtube.com
Real-world Examples And Non-obvious Insights
Many new users miss a few subtle details about Nest charging and the blinking green light:
- If your Nest is installed in a vacation home or a room where the HVAC rarely runs, the battery can drain even if everything is wired correctly. In these cases, a manual charge with a USB cable once every few months can keep things working.
- Sometimes, after a power outage, the Nest may get “stuck” in update mode. This can look like a never-ending green blink but is actually just a result of lost internet or power. A simple router reboot or manual restart of the Nest often fixes this.
- If you have multiple smart home devices, interference from other Wi-Fi devices can slow Nest updates, making the green light last longer. Setting your router to a less crowded channel can help.
When To Worry: Signs Of A Bigger Problem
Not every green light is harmless. Watch out for these warning signs:
- The green light blinks for over 20 minutes and the thermostat is unresponsive.
- You get repeated “Low battery” warnings, even after charging or wiring fixes.
- The Nest frequently restarts on its own.
- The thermostat loses Wi-Fi connection often, even with strong signal.
If you notice these, try the troubleshooting steps above. If problems continue, your thermostat may need professional repair or replacement.
Credit: www.youtube.com
Should You Replace Or Repair Your Nest Thermostat?
Most blinking green light issues are minor. But if your Nest is out of warranty and won’t work even after all steps, it may be time to consider a replacement.
- Repair: If the device is under warranty, Google may repair or replace it for free.
- Replace: If the battery is dead and can’t be fixed, or if the thermostat is several years old, a new model may be more cost-effective.
- Upgrade: Newer Nest models have better battery life, improved Wi-Fi, and smarter update systems.
If you’re unsure, contact a local HVAC technician or Google Nest Support for advice.
Frequently Asked Questions
What Does The Blinking Green Light On My Nest Thermostat Mean?
The blinking green light means your Nest Thermostat is updating its software or restarting. It is not a charging indicator. If the light blinks for more than 10-15 minutes, it may indicate a problem with the update, power, or Wi-Fi connection.
How Can I Manually Charge My Nest Thermostat If The Battery Is Low?
You can manually charge your Nest by removing it from the wall and connecting a micro-USB cable to the port on the back. Plug the other end into a wall charger and let it charge for 1-2 hours before reattaching. This is helpful if your HVAC system isn’t providing enough power.
Will Adding A C Wire Fix All Charging Problems?
Adding a C (common) wire is the most reliable way to ensure steady charging for your Nest Thermostat. While it fixes most power issues, you should also check for wiring problems, HVAC compatibility, and make sure your system is in good condition.
Is It Safe To Restart Or Reset My Nest Thermostat During A Blinking Green Light?
Generally, yes. If the green light has been blinking for too long (over 10-15 minutes), a manual restart is safe and often helpful. Press and hold the thermostat ring for 10 seconds to restart. Only do a full factory reset as a last resort.
Can The Blinking Green Light Drain The Battery Or Damage The Thermostat?
The blinking green light itself does not drain the battery. However, if the device is stuck in update mode due to power or Wi-Fi issues, it may use more battery than normal. Prolonged issues can lead to battery drain, but the light itself is not harmful.
Smart thermostats like the Nest are designed to make your life easier, but small signals like the blinking green light can sometimes cause confusion. By understanding what the light means, how charging works, and when to act, you’ll keep your Nest running smoothly and your home comfortable.
If you ever feel stuck, remember that help is available from Google and experienced HVAC professionals. With the right knowledge, you can handle almost any Nest Thermostat issue with confidence.