A blinking light on your Noco Genius charger can feel confusing, especially when you just want your battery to work again. Many people notice the repair mode blinking and wonder what it means, if their battery is safe, and how to fix any problems. If you’re dealing with this issue, you’re not alone. This guide will help you understand what the blinking means, how the repair mode works, and what steps to take next. You’ll also learn common mistakes, practical troubleshooting, and how to get the best results from your Noco Genius charger—without needing advanced technical skills.
What Is Noco Genius Repair Mode?
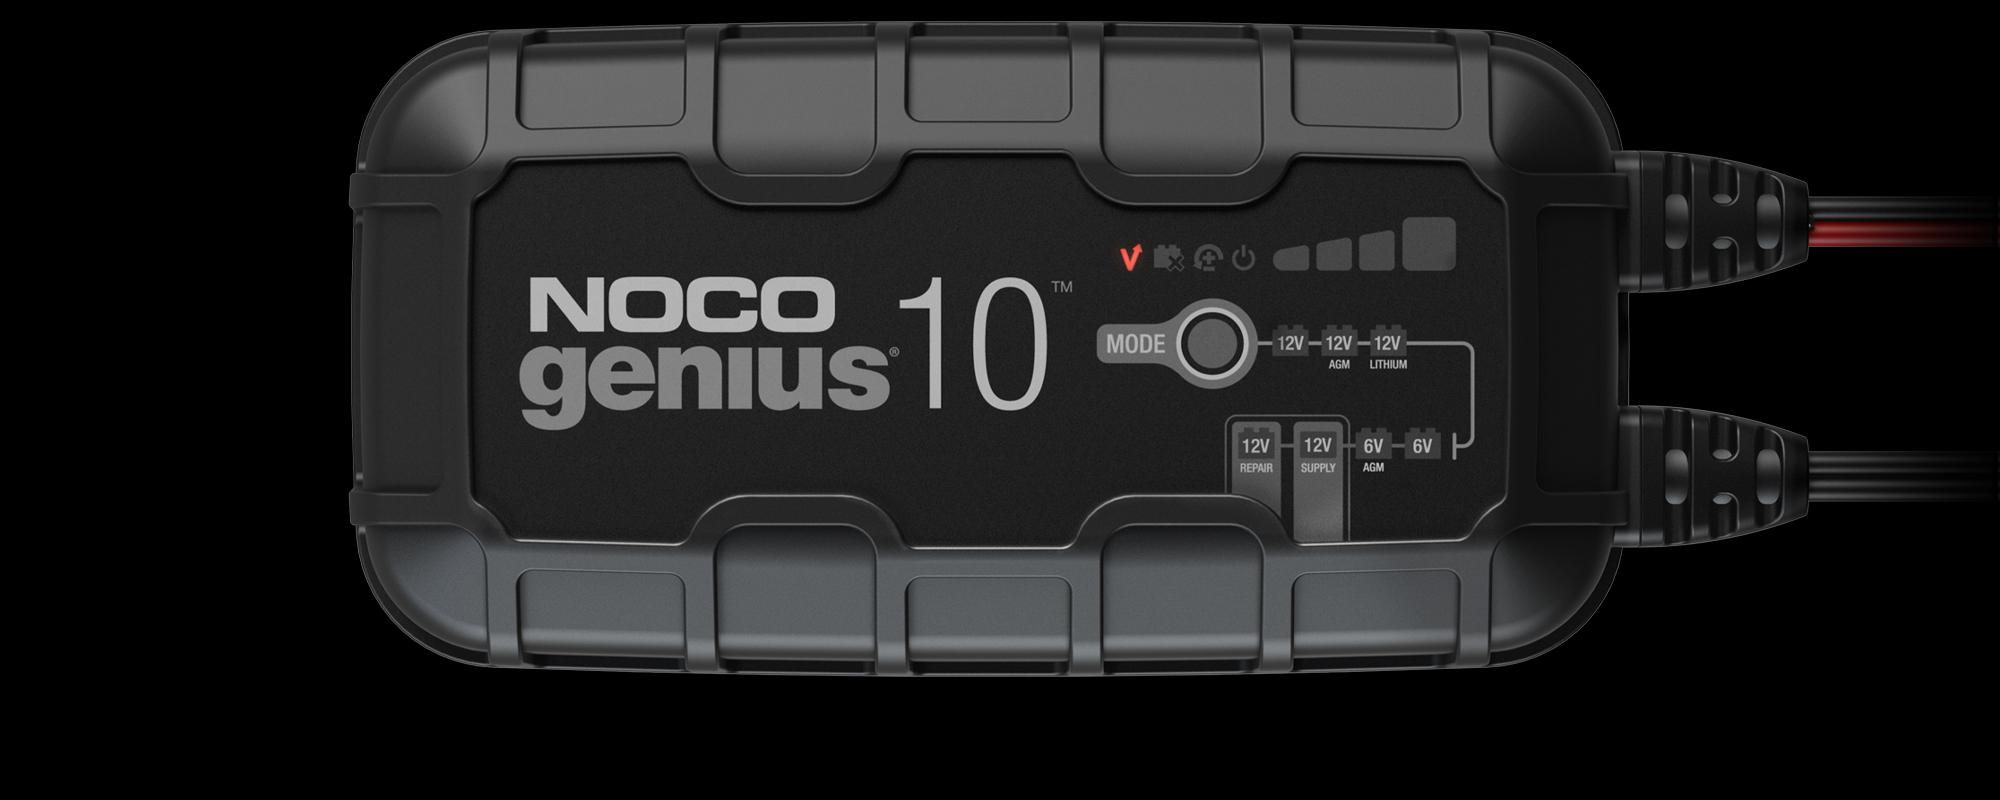
The Noco Genius Repair Mode is a special function found in some Noco Genius battery chargers, like the Genius5, Genius10, and Genius2. It’s designed to recover batteries that have been deeply discharged, sulfated, or neglected. Sulfation happens when lead-acid batteries are left uncharged for too long, causing crystals to form on the plates. This can block current and reduce battery life.
Repair Mode is not for everyday charging—it’s for restoring batteries that are almost dead or showing signs of failure. When you activate this mode, the charger uses high-voltage pulses to break down the sulfation. This can sometimes bring a battery back to life, but it’s not guaranteed.
Why Does Repair Mode Blink?
When Repair Mode is blinking, the charger is telling you something important. It usually means the charger is working on the battery, but it can also signal a problem. Here are the main reasons for blinking:
- Active Repair Cycle: The charger is currently running the repair process. This can take several hours, depending on battery condition and size.
- Battery Not Detected: The charger cannot sense a battery, possibly due to a bad connection or a very low voltage.
- Safety Issue: The charger has found something unsafe—like reversed polarity or a battery that’s too damaged.
- Voltage Too Low or Too High: The battery voltage is outside the safe range for repair mode.
- Internal Charger Error: Sometimes, a blinking light means the charger itself has a malfunction.
Understanding which reason applies to your situation is key to solving the problem.
How Repair Mode Works
Repair Mode uses a controlled charging pattern, sending short bursts of high voltage through the battery. This process helps dissolve sulfation and restore capacity. It’s different from normal charging, which is slow and steady. Here’s how the cycle usually goes:
| Step | Repair Mode Action | Duration |
|---|---|---|
| 1 | High-voltage pulse | 1-4 hours |
| 2 | Voltage monitoring | Varies |
| 3 | Cycle repeat | Several times |
| 4 | Completion or error | Instant or after full cycle |
A key insight: Many beginners think repair mode works instantly. In reality, it’s a slow process and may not always succeed if the battery is too damaged.
Common Causes Of Repair Mode Blinking
There are a few main causes for the repair mode blinking. Knowing these can save you time and help you avoid mistakes.
Poor Battery Connection
Loose or dirty terminals are one of the most common problems. If the charger can’t sense the battery, it will blink. Always check:
- Corrosion on battery terminals
- Loose clamps
- Damaged cables
Battery Below Minimum Voltage
Noco Genius chargers need a minimum voltage to start repair mode. For example, the Genius10 needs at least 2 volts. If your battery is below this, the charger may blink and not start the repair.
Battery Too Old Or Damaged
Sometimes, the battery is simply too far gone. If the internal plates are broken or the battery has been dead for months, repair mode might blink without doing anything.
Wrong Charger Setting
If you select the wrong battery type (AGM, lithium, etc. ), the charger might not work correctly. Always check you have the right setting for your battery.
Reversed Polarity
Connecting the clamps to the wrong terminals (red to negative, black to positive) will cause the charger to blink as a warning.
Internal Charger Issues
Rarely, the charger itself might have a defect. If you’ve checked everything else, consider this possibility.
Troubleshooting Repair Mode Blinking
If you see the repair mode blinking, follow these steps. Most problems can be fixed without expert help.
- Check Connections: Make sure the clamps are tight and clean. Remove any corrosion with a wire brush.
- Verify Battery Voltage: Use a multimeter to check the battery’s voltage. If it’s below 2V, try a different charger or boost the battery first.
- Inspect Charger Settings: Double-check the battery type setting.
- Restart Charger: Unplug and reconnect to reset the device.
- Try Repair Mode Again: Sometimes, running repair mode twice helps.
- Test Battery Health: If possible, use a battery tester to see if the battery is truly dead.
- Check for Polarity: Make sure red clamp is on positive, black on negative.
- Look for Error Codes: Some Noco chargers display error codes. Check the manual for details.
- Switch Out the Charger: If all else fails, test another charger or contact Noco support.
| Step | What to Check | Expected Outcome |
|---|---|---|
| 1 | Connections | Solid contact, no corrosion |
| 2 | Voltage | 2V or above |
| 3 | Settings | Correct battery type |
| 4 | Error codes | Manual reference |
A non-obvious tip: Sometimes, a battery might show low voltage because it’s been sitting unused. Jump-starting with another battery for a minute can raise the voltage enough for repair mode to start.
Best Practices For Using Repair Mode
To get the most out of repair mode, follow these best practices:
- Read the Manual: Each Noco charger model works a bit differently.
- Use in Well-Ventilated Area: Repair mode can cause gases to build up in lead-acid batteries.
- Monitor Battery Temperature: If the battery gets hot, stop the repair process. Overheating can cause damage.
- Don’t Use on Healthy Batteries: Repair mode is only for batteries that are failing, not for regular charging.
- Repeat if Needed: Sometimes, running repair mode multiple times can help, but don’t overdo it.
| Practice | Why It Matters |
|---|---|
| Read manual | Avoid mistakes, follow model-specific steps |
| Ventilation | Prevent gas buildup, safety |
| Monitor temp | Prevent battery damage |
| Repeat cycles | Higher chance of recovery |
Credit: no.co
When To Give Up On Repair Mode
Not all batteries can be saved. If you’ve tried repair mode several times and the charger keeps blinking, it’s a sign the battery is beyond recovery. Here’s when to stop trying:
- Battery stays below 2V after several attempts
- Charger blinks continuously with no change
- Battery leaks or swells
- Strange smells from the battery
- Battery is more than 5 years old and heavily used
Replacing the battery is often safer and more reliable than forcing repair mode.
Noco Genius Repair Mode: Real-world Examples
Let’s look at two real situations to see how repair mode blinking was solved.
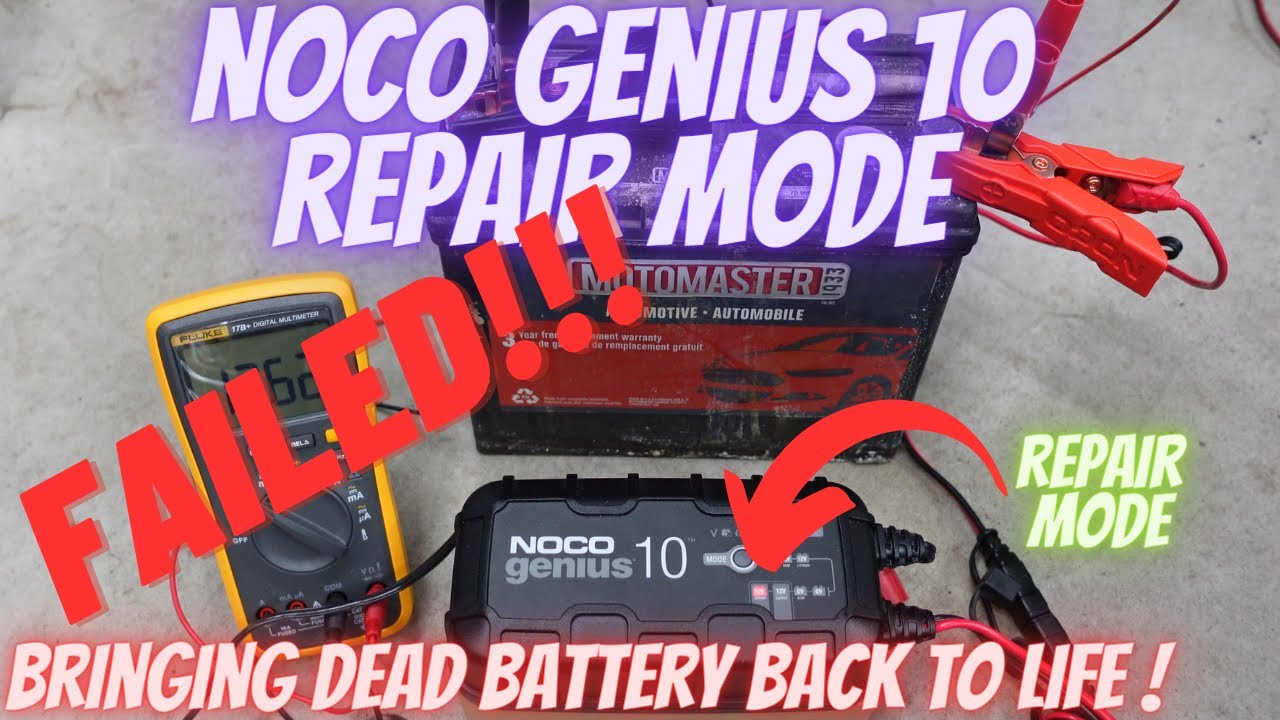
Case 1: Deeply Discharged Car Battery
A user tried repair mode on a 12V car battery that had been unused for a year. The charger blinked for several hours but eventually showed a solid light, meaning repair succeeded. After charging normally, the battery worked for several months.
Case 2: Damaged Lawn Mower Battery
Another user tried repair mode on a battery with visible swelling. The charger blinked and never stopped. After checking, they found the battery was leaking acid. It was unsafe and needed to be replaced.
These examples show that repair mode can help, but isn’t a miracle cure.

Credit: www.reddit.com
How Noco Genius Repair Mode Compares To Other Chargers
Noco Genius chargers are known for their smart features and safety. How does their repair mode compare with other brands?
| Brand | Repair Mode Feature | Success Rate | Safety |
|---|---|---|---|
| Noco Genius | High-voltage pulse, smart monitoring | Medium-high | Very safe |
| CTEK | Reconditioning, lower voltage | Medium | Safe |
| Battery Tender | Desulfation, basic monitoring | Medium | Safe |
Noco Genius stands out for its advanced safety checks and clear signals, including blinking repair mode. If you want more technical details, you can read about battery desulfation on the Wikipedia Battery Desulfation page.
What To Do If Repair Mode Fails
If your charger keeps blinking and nothing works, try these steps:
- Test Battery with a Multimeter: If voltage is zero, the battery is dead.
- Try Different Charger: Some chargers can kick-start dead batteries.
- Replace Battery: If the battery is old or damaged, buy a new one.
- Contact Noco Support: They can guide you if your charger is faulty.
Credit: www.youtube.com
Frequently Asked Questions
Why Does My Noco Genius Repair Mode Keep Blinking?
The blinking means the charger is either running the repair cycle or has found a problem, like poor connection, low voltage, or unsafe battery condition. Check connections, voltage, and settings.
Can I Use Repair Mode For Regular Charging?
No. Repair mode is for restoring batteries, not for everyday charging. Using it on healthy batteries can cause damage.
How Long Should Repair Mode Take?
Usually, repair mode runs for 1 to 4 hours. If the light keeps blinking after several hours, the battery may be too damaged to recover.
Is It Safe To Leave The Charger Unattended In Repair Mode?
It’s best to monitor the battery during repair mode. Overheating or gas buildup can happen, especially with old batteries.
What Should I Do If Repair Mode Fails?
If repair mode doesn’t work after several attempts, replace the battery. You can also try boosting the battery voltage or contacting Noco support for advice.
A blinking repair mode on your Noco Genius charger is not the end of the road. With careful steps, you can often fix the issue and restore your battery. But know when to stop and replace the battery for safety.
By understanding how repair mode works and what blinking means, you’ll be ready for almost any battery problem.