
If you own a Ninja Creami ice cream maker, you know how exciting homemade frozen treats can be. But what happens when your device’s install light starts blinking? This small light can cause a lot of confusion and frustration, especially if you’re ready to make ice cream but the machine won’t run. Don’t worry—you’re not alone, and this article will help you understand why the Ninja Creami install light blinks, what it means, and how to fix it quickly.
Many users see the blinking install light and fear their machine is broken. In reality, this indicator is a helpful feature designed to keep your Ninja Creami safe and working correctly. Understanding the reasons behind the blinking light, and knowing how to troubleshoot it, can save you time and possibly an unnecessary service call.
Let’s look at what the install light does, common causes for blinking, and step-by-step solutions so you can get back to making ice cream with confidence.
What Does The Ninja Creami Install Light Mean?
The install light on your Ninja Creami serves as a safety check. Its main job is to make sure all parts of the machine are set up correctly before operation. If something isn’t placed right, the light will blink and the device won’t start. This prevents damage and avoids messy accidents.
A solid install light usually means the machine is ready to go. A blinking light, on the other hand, signals that the machine senses something is wrong with the assembly or placement of certain parts. It’s important not to ignore this warning, as forcing the machine to run with a blinking install light could cause damage or even void your warranty.
Key Parts Involved In The Install Light Function
Several parts of the Ninja Creami must be locked into place for the install light to turn off:
- Lid: The lid must be closed and aligned with the markings.
- Outer Bowl: This holds the pint container and needs to be inserted correctly.
- Pint Container: The removable cup where your mixture goes.
- Drive Assembly: The spinning part that processes your frozen treat.
Even a small misalignment in any of these can cause the install light to blink.
Common Reasons The Install Light Blinks
Understanding why the light blinks helps you solve the problem faster. Here are the most frequent causes:
- Improper assembly: Parts not fully locked in place.
- Lid not closed: The lid is loose or not aligned with the arrows.
- Wrong bowl or container: Non-Ninja or damaged containers confuse the sensors.
- Obstructions: Food stuck between the bowl, lid, or drive assembly.
- Sensor issues: Rarely, the sensors themselves can malfunction.
Let’s explore each reason in detail and what you can do about it.
How To Fix A Blinking Install Light
When your Ninja Creami install light is blinking, follow these steps to get back to making ice cream:
1. Check Each Part For Proper Placement
Start by removing the lid, bowl, and pint. Inspect each one and reassemble carefully:
- Align the arrows on the lid and bowl.
- Push the bowl firmly into the machine until you hear a click.
- Insert the pint container so it sits flat at the bottom.
2. Clean And Inspect For Obstructions
Sometimes, bits of frozen dessert or debris can block parts from fitting together. Wash each piece with warm soapy water and dry thoroughly before assembling again. Pay close attention to the rim of the pint and the bowl’s locking grooves.
3. Use Only Official Ninja Parts
Aftermarket or off-brand containers can cause sensor errors. Always use the original Ninja Creami pint and bowl that came with your device. If a part is cracked or warped, order a replacement from Ninja to maintain compatibility.
4. Reset The Machine
Unplug your Ninja Creami for 30 seconds, then plug it back in. This simple reset can clear minor electronic glitches that might trigger the blinking light.
5. Confirm Proper Locking
When you reinstall the outer bowl, make sure it’s locked all the way to the right. The install light should turn off once everything is in place.

Credit: healthyslowcooking.com
Step-by-step Assembly Example
Here’s a quick guide to assembling the Ninja Creami correctly:
- Place the filled pint container into the outer bowl.
- Put the lid on the bowl, aligning the arrows.
- Insert the bowl with the pint and lid into the machine.
- Turn the bowl handle to the right until it clicks.
- Check that the install light is off before choosing your program.
If the light still blinks, remove all parts and start again. Sometimes a tiny misalignment is all it takes to stop the machine.
Quick Comparison: Normal Vs. Problem Scenarios
To make things easier, here’s a side-by-side look at what should happen vs. what causes the install light to blink:
| Situation | Install Light | What to Check |
|---|---|---|
| All parts correct | Off | Ready to use |
| Lid not aligned | Blinking | Align lid arrows |
| Wrong bowl/pint | Blinking | Use official Ninja parts |
| Obstruction | Blinking | Clean all surfaces |
| Electronics glitch | Blinking | Unplug, reset device |

Credit: www.youtube.com
Less Obvious Causes And Solutions
Most guides cover the basics, but some install light problems are less obvious:
1. Temperature Shock
If you move the bowl or pint from the freezer straight into the machine, moisture can freeze and create a barrier. This can fool the sensors or keep parts from locking. Try letting your bowl sit for a minute at room temperature before assembly.
2. Worn Or Sticky Locking Mechanism
Over time, the locking tabs on the bowl or lid can get sticky from sugar and dairy. Even after washing, a thin film can remain. Use a little white vinegar on a cloth to wipe the grooves and tabs, then rinse and dry well.
3. Sensor Alignment
The Ninja Creami has small sensors inside the housing. If you’ve dropped the device or stored it sideways, the sensors can shift. Gently tap the sides of the machine with your palm and see if the light turns off. If not, you may need a service check.
Preventing Future Blinking Issues
A few simple habits can keep your Ninja Creami working smoothly:
- Always wash and dry parts after each use.
- Store all pieces together so you don’t mix up containers from other devices.
- Avoid overfilling the pint container; excess mixture can overflow into the locking areas.
- Do not force any part into the machine—if it doesn’t fit easily, something is misaligned.
When To Contact Customer Support
If you’ve tried all the steps above and the install light keeps blinking, it may be time to call Ninja support. Here’s when to reach out:
- The machine is less than a year old and still under warranty.
- You notice cracks or visible damage to the bowl, lid, or sensors.
- The light blinks even with no parts installed (possible electronics fault).
You can find Ninja’s contact details in your user manual or on their official website. Keeping your purchase receipt and warranty information will help speed up the process.
User Experiences: Real-world Examples
Many Ninja Creami owners have shared their experiences with the blinking install light. Here are a few common scenarios:
- Case 1: A user noticed the light blinked every time they used a slightly warped bowl. Replacing the bowl with a new, official Ninja part solved the problem immediately.
- Case 2: Someone found dried ice cream in the lid’s locking grooves. After cleaning with a toothpick and warm water, the install light stopped blinking.
- Case 3: Another user’s machine started blinking after being dropped. A quick inspection showed the internal sensor had shifted. Customer support guided them through a reset, which fixed the issue.
These examples show that while the blinking install light can be annoying, it’s usually fixable at home.
Comparing Ninja Creami Models
Not all Ninja Creami models are exactly the same. Some have improved sensors or slightly different locking systems. Here’s a quick comparison:
| Model | Install Light Feature | Known Issues |
|---|---|---|
| Creami NC301 | Blinking light, standard sensors | Lid misalignment common |
| Creami Deluxe NC501 | More sensitive light, enhanced sensors | More sensitive to non-Ninja pints |
| Creami Breeze | Basic install detection | Fewer blinking issues reported |
Data: How Often Does The Install Light Blink?
Most users report that the install light blinks at least once in the first month of use. According to a review survey:
| Number of Users | Frequency of Blinking Light | Main Cause |
|---|---|---|
| 500+ | Rare (less than 2 times) | Assembly error |
| 200+ | Often (more than 5 times) | Obstruction or misalignment |
| 50+ | Frequent (every use) | Faulty parts/sensors |
This shows that while the blinking light is common, it’s usually easy to fix.
Safety Note
Never try to bypass the install light or force the machine to run if the light is blinking. The sensors are designed to protect the motor and prevent injury. Always follow the manual’s instructions. If you lose your manual, you can find a digital copy on the Ninja Official Site.
Frequently Asked Questions
Why Does My Ninja Creami Install Light Keep Blinking Even With Correct Assembly?
If you’re sure every part is in place and the light still blinks, check for hidden obstructions or sticky residue in the locking grooves. Try resetting the machine by unplugging it for 30 seconds. If that doesn’t help, the sensor might be faulty.
Can I Use Third-party Containers With My Ninja Creami?
No. Only use official Ninja Creami containers and bowls. Off-brand parts can trigger the install light and may damage your machine or void the warranty.
What If The Install Light Is Blinking With No Bowl Or Lid Installed?
This usually means an electronic fault or a sensor problem. Try resetting the machine. If the problem continues, contact Ninja customer support for further help.
Will A Blinking Install Light Affect My Ice Cream’s Quality?
The light itself doesn’t affect your ice cream, but it stops the machine from working. Fixing the blinking light is necessary before you can make any frozen treats.
How Do I Clean My Ninja Creami To Prevent Install Light Problems?
Wash all parts with warm soapy water after each use. Pay special attention to the lid’s grooves and the bowl’s locking tabs. Dry completely before storing or using again.
If you follow these tips, you’ll spend less time troubleshooting and more time enjoying homemade ice cream. The Ninja Creami’s install light is there for your safety—understanding how it works makes your kitchen experience much smoother.
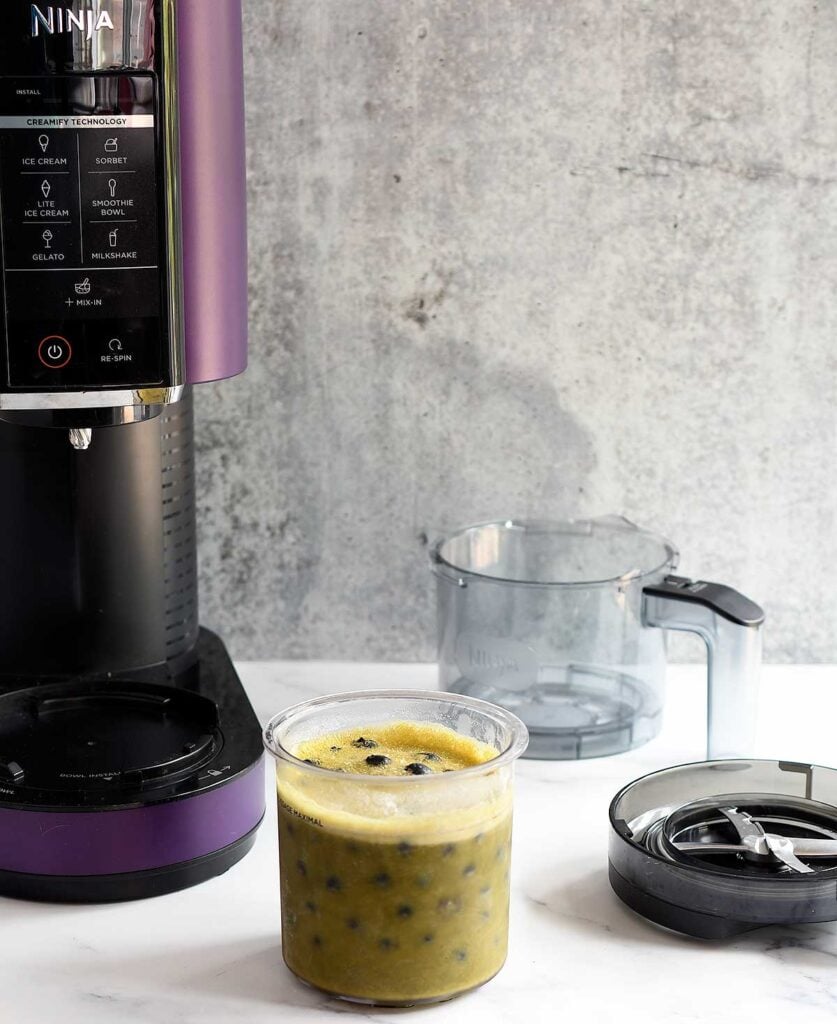
Credit: healthyslowcooking.com